.svg)
Block out the dates your business can't spare anyone, so members at those locations can't request leave on them.
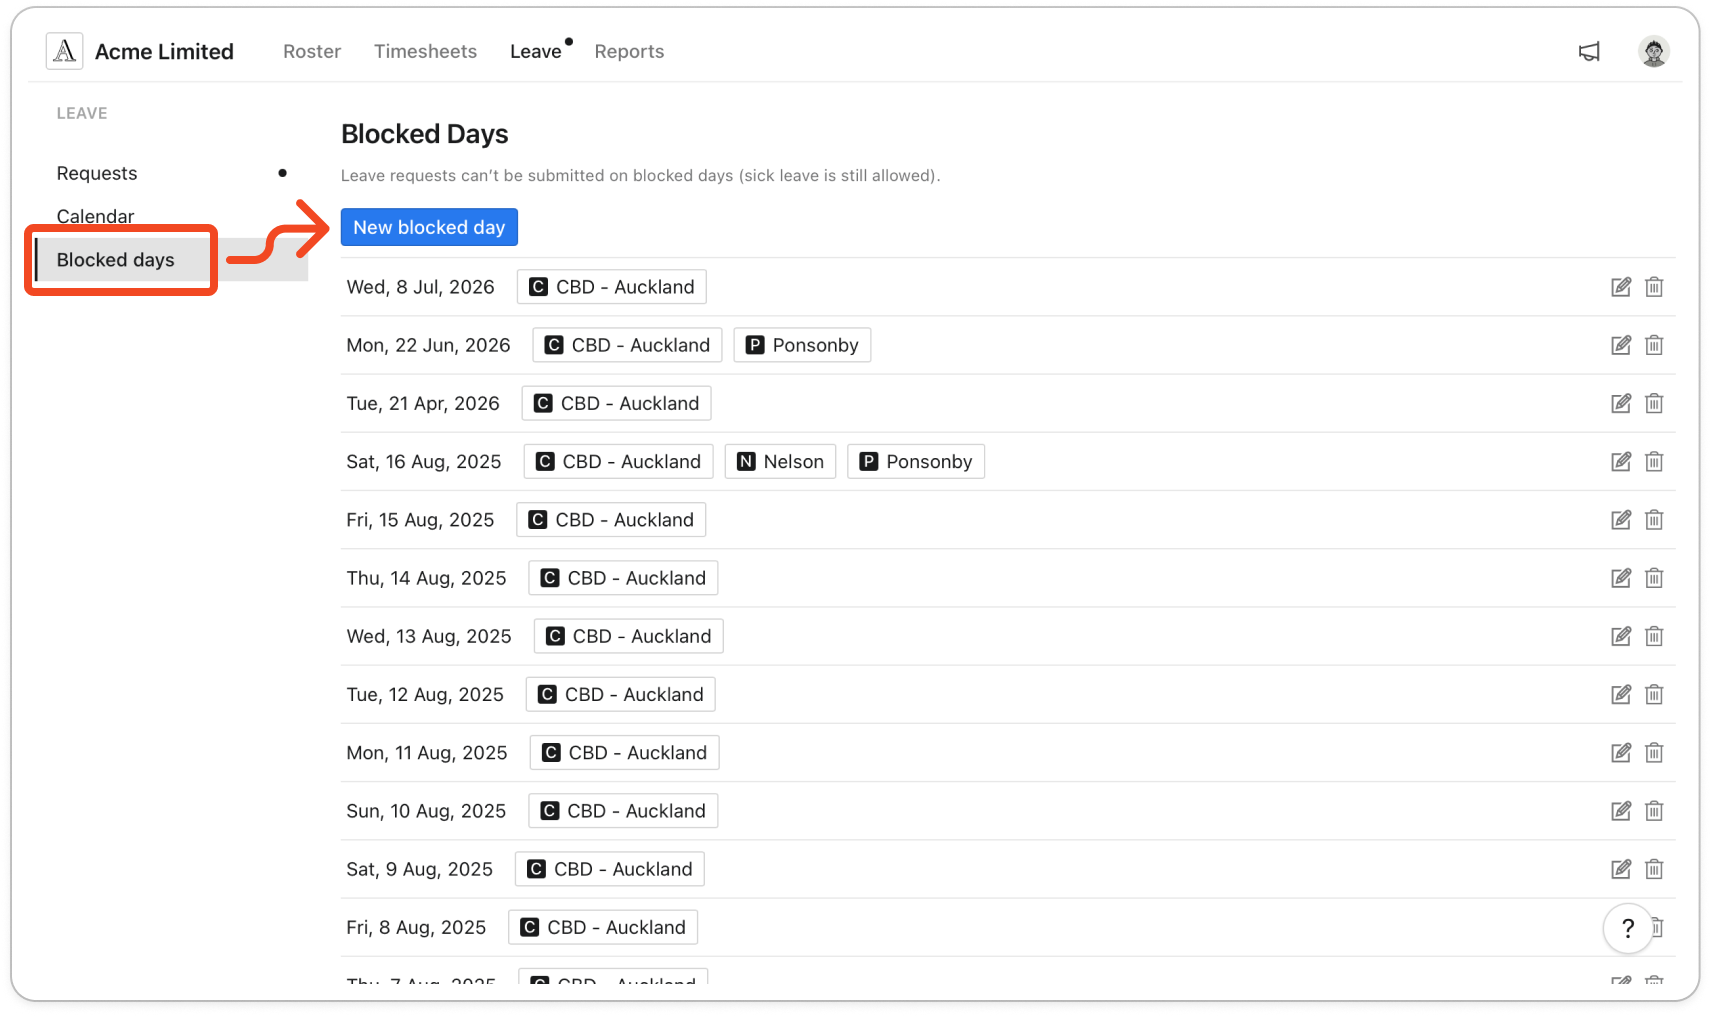
- Click Leave at the top of the page, then click Blocked days in the list on the left.
- Click New blocked day.
- Under Type, choose Single day to block one date, or Date range to block several days in a row.
- Pick the dates. A single day has one Date field. A date range has From and To, and every day from the first date to the last is blocked.
Note: The To date must be later than the From date. To block one day, use Single day instead.
- Under Locations, choose every location the block applies to. You need at least one.
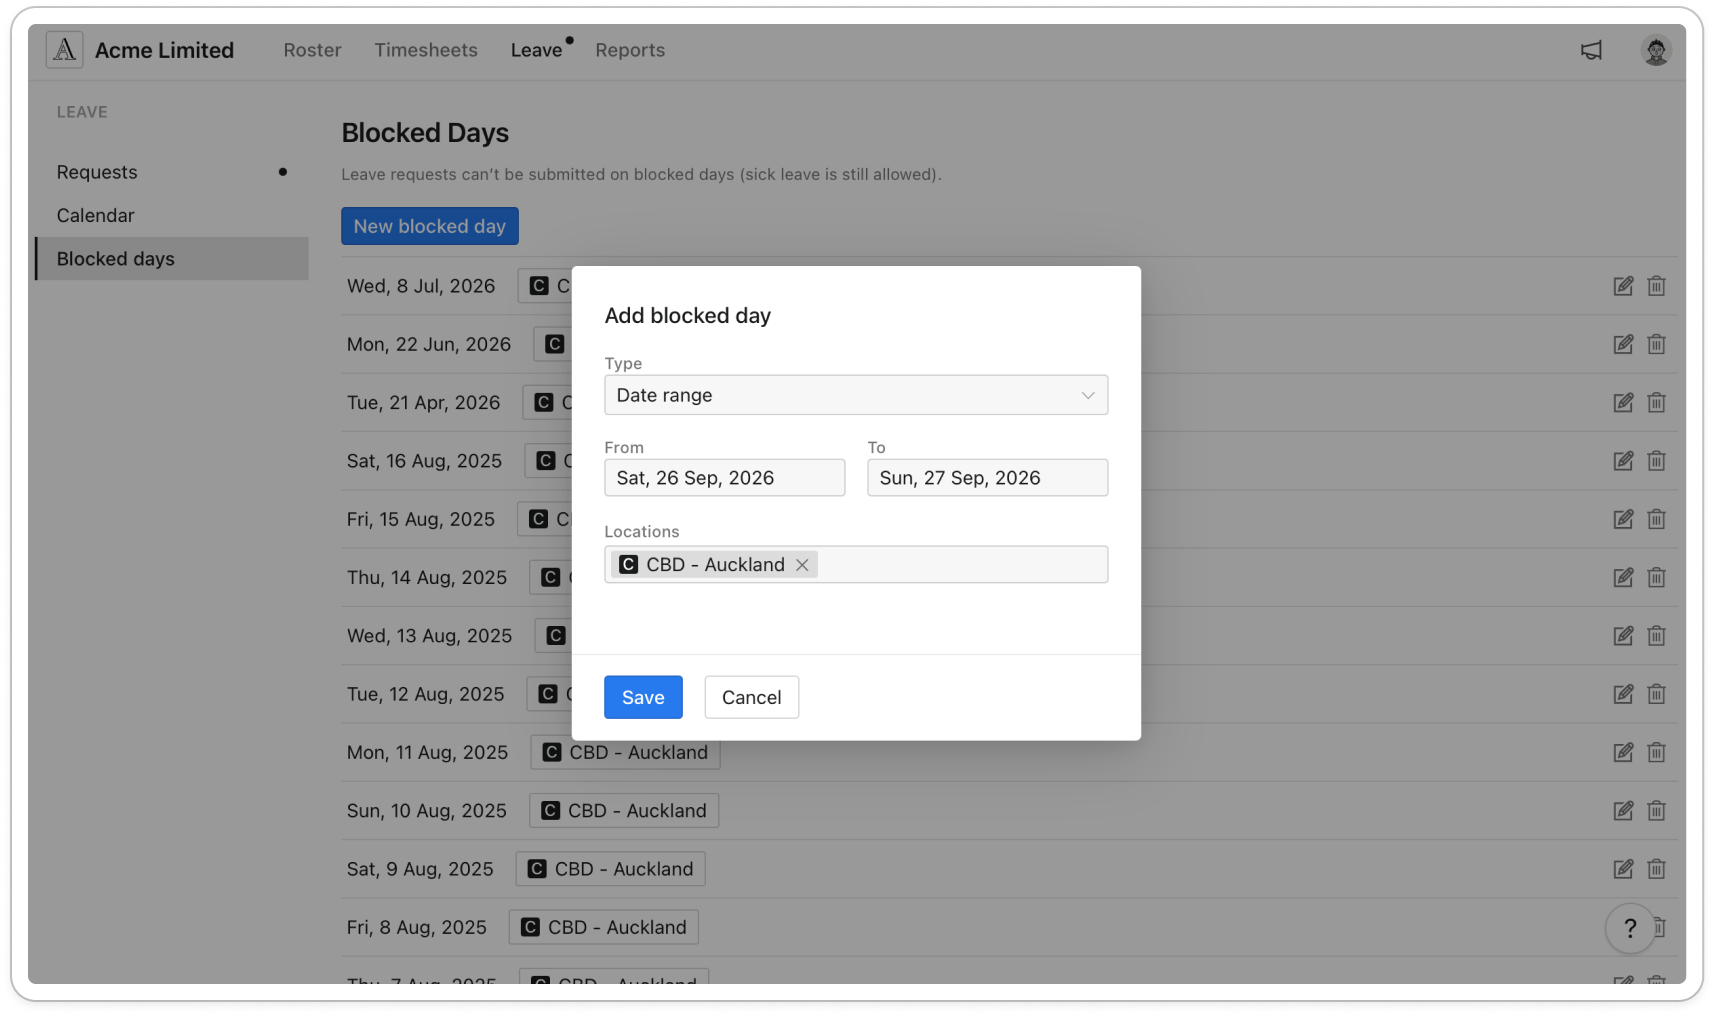
- Click Save. The blocked day appears in the list with its dates and locations.
Note: Two blocked days can't overlap for the same location. If they do, Timble shows "The selected dates conflict with existing blocked days for the same location(s)." Open the existing blocked day and change its dates instead.
Note: From now on, a member at one of those locations who requests leave over a blocked day in the mobile app sees "Leave not allowed", and the request is not submitted. Sick leave is still allowed on a blocked day. Requests that were already submitted are not affected. On the roster, a blocked date shows a small icon in its day header. Hover over the icon and it reads "Leave requests blocked".
Edit or delete a blocked day
To change a blocked day, click it in the list. The Edit blocked day window opens with the same fields. Change the type, the dates or the locations, then click Save.
To remove a blocked day, click the bin icon at the right of its row, then click Delete to confirm. Members at those locations can request leave on those dates again.


