.svg)
Record the days or times a member can't work, so the roster is built around them.
Add unavailability
- Click your profile picture in the top right, then click Members.
- Click the member. Their profile window opens.
Tip: Clicking a member's name on the roster opens the same window.
- Click Unavailability in the list on the left. Any unavailability the member already has is listed under the Add unavailability button.
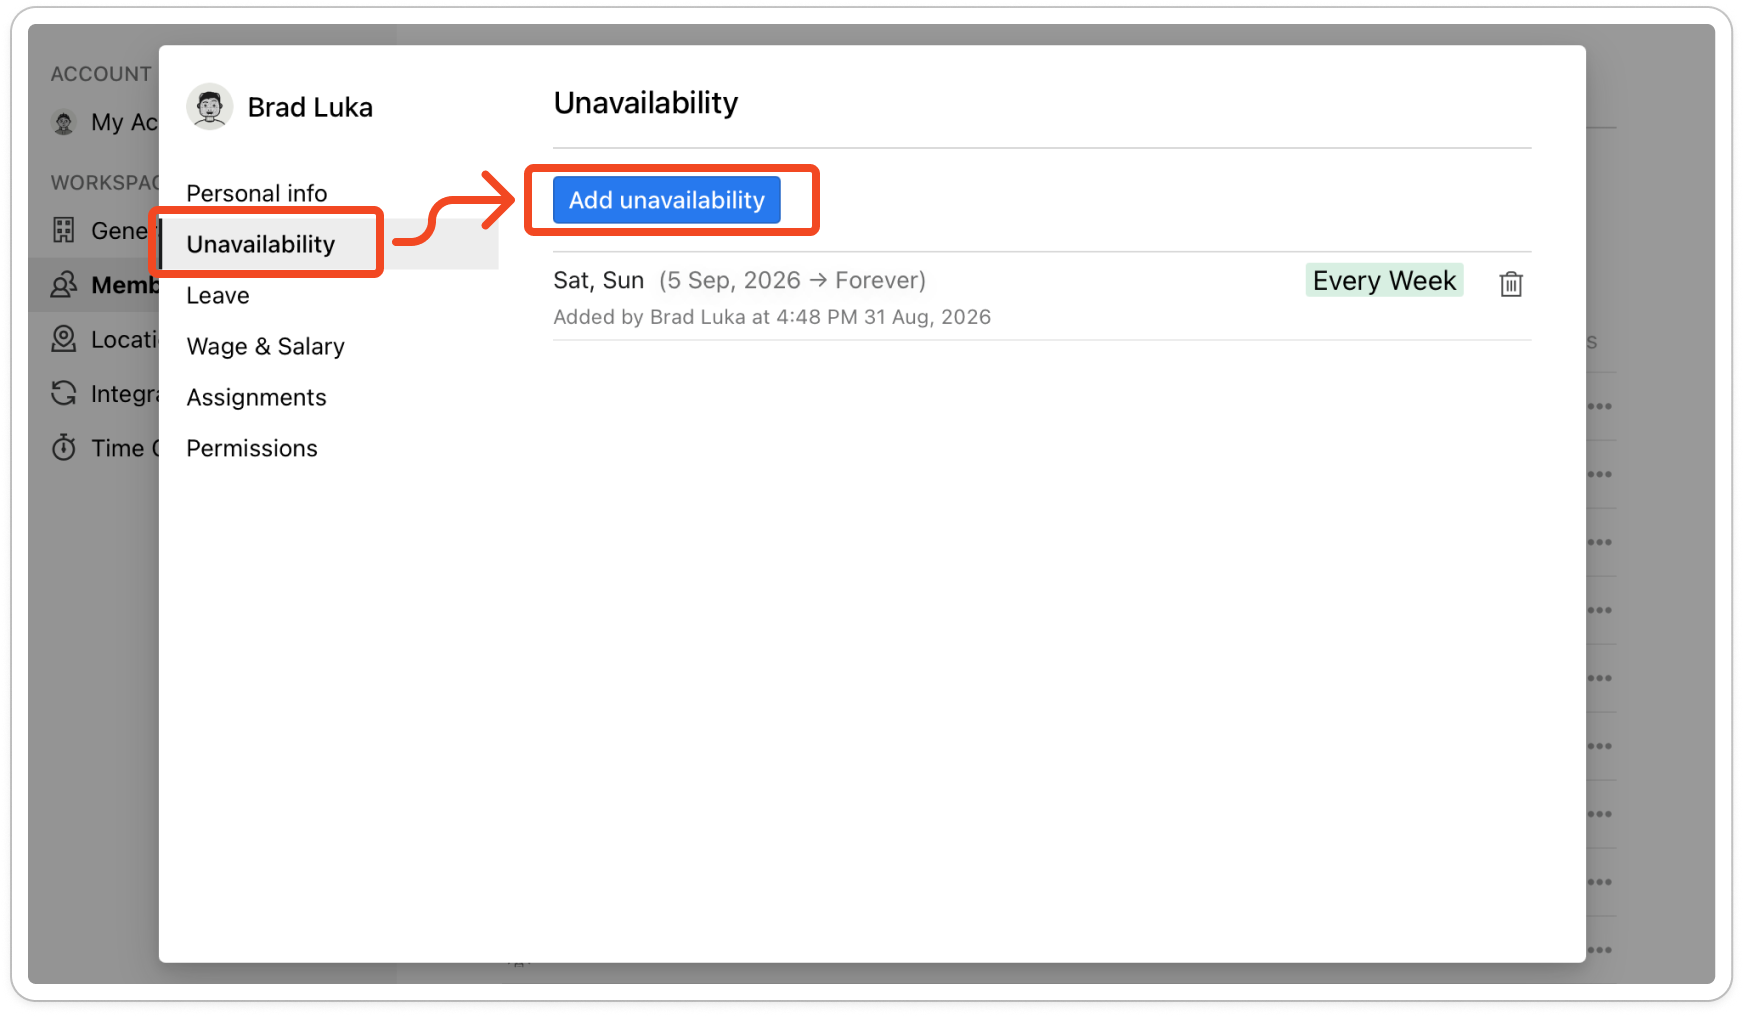
- Click Add unavailability. The Add Unavailability window opens.
- Click the date at the top and pick the first day the member can't work. The date is set to tomorrow by default, and you can't pick a day that has already passed.
- If the member can work part of that day, turn on Include time and enter the start and finish times beside the date.
- If the member is away for a run of days, turn on End date and pick the last day. With Include time on as well, the first date takes the start time and the end date takes the finish time.
- If the same day comes round regularly, click Repeat and choose Every Week, Every 2 Weeks, Every 4 Weeks or Every Month. For a weekly option, click each weekday it applies to on the On row. The weekday of the date you picked is always included.
Note: Repeat only shows while End date is off. An entry either repeats or covers a run of days, not both.
- Click End repeat and choose Never, or choose On date and pick the day the repeat stops.
- Add a note if you want to, such as the reason, then click Save.
- The entry appears at the top of the member's list, with your name and the time you added it. On the roster, the member's cell for that day shows N/A with ALL DAY or the times you set.
Tip: To see the note on the roster too, open the View menu on the roster and turn on Show unavailability notes.
Delete unavailability
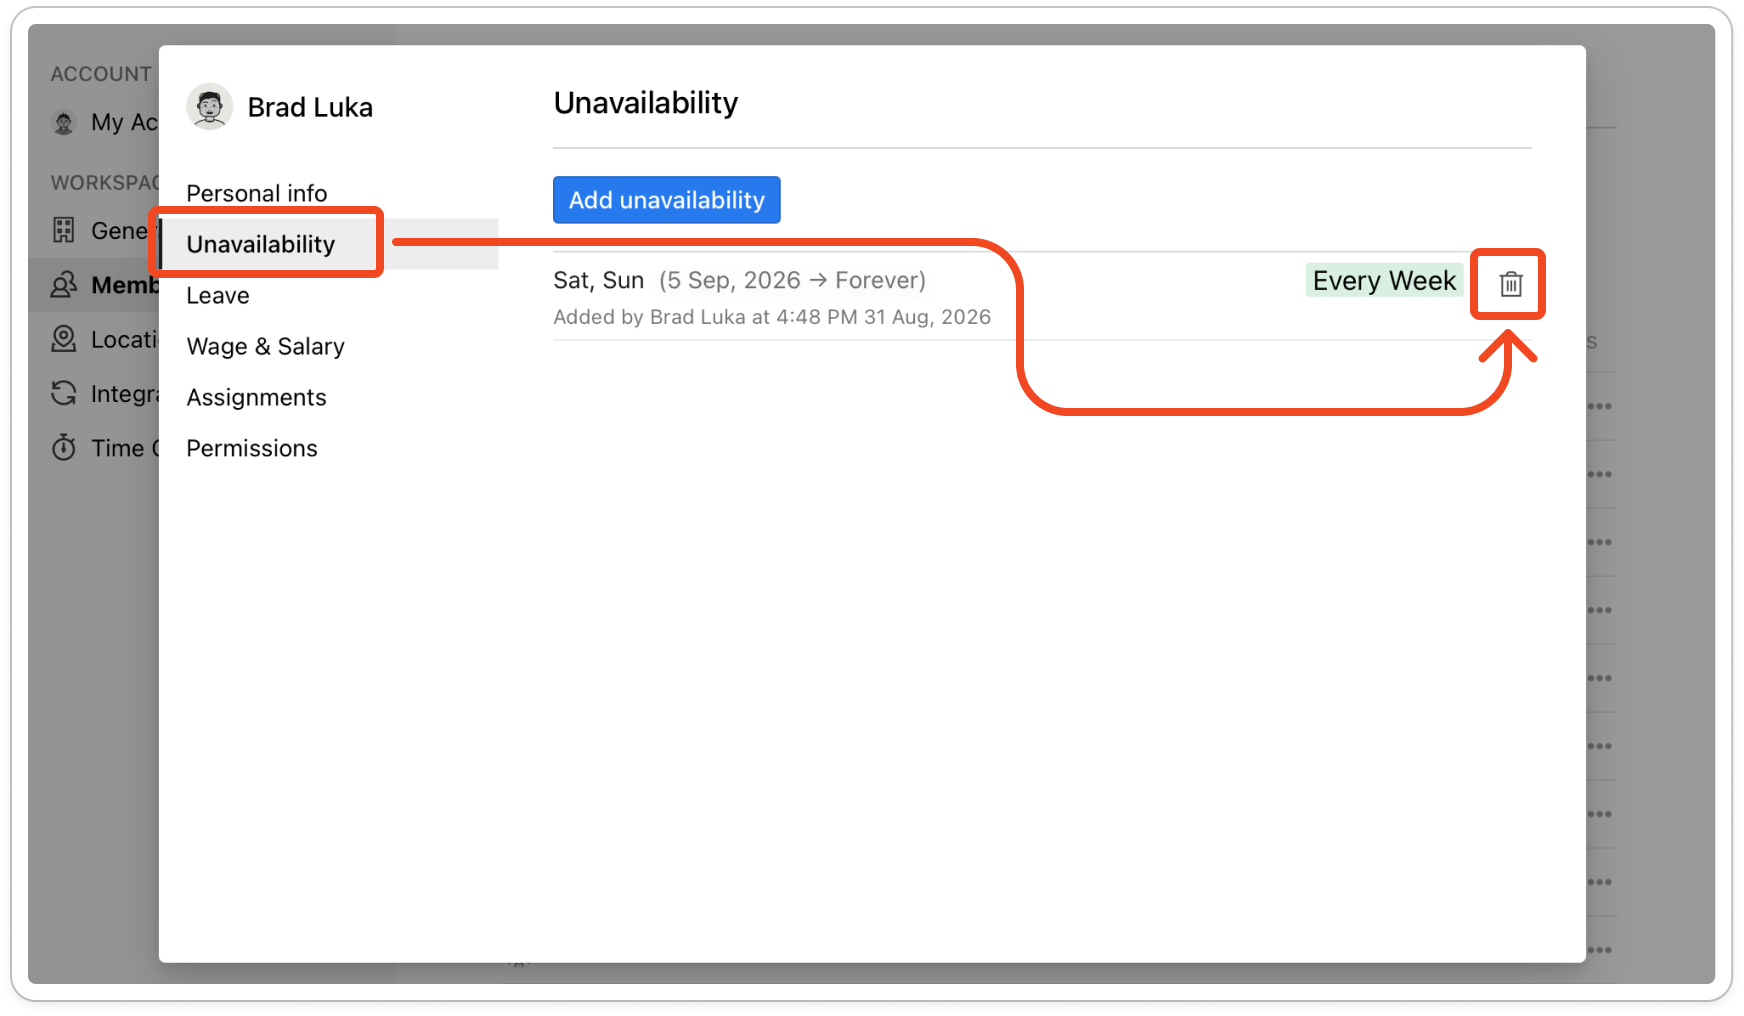
- On the member's Unavailability tab, click the bin icon on the right of the entry.
- Click Delete to confirm. The entry disappears from the list and from the roster.