.svg)
Record leave for a member yourself, then change or remove it later if the plans change.
Add leave
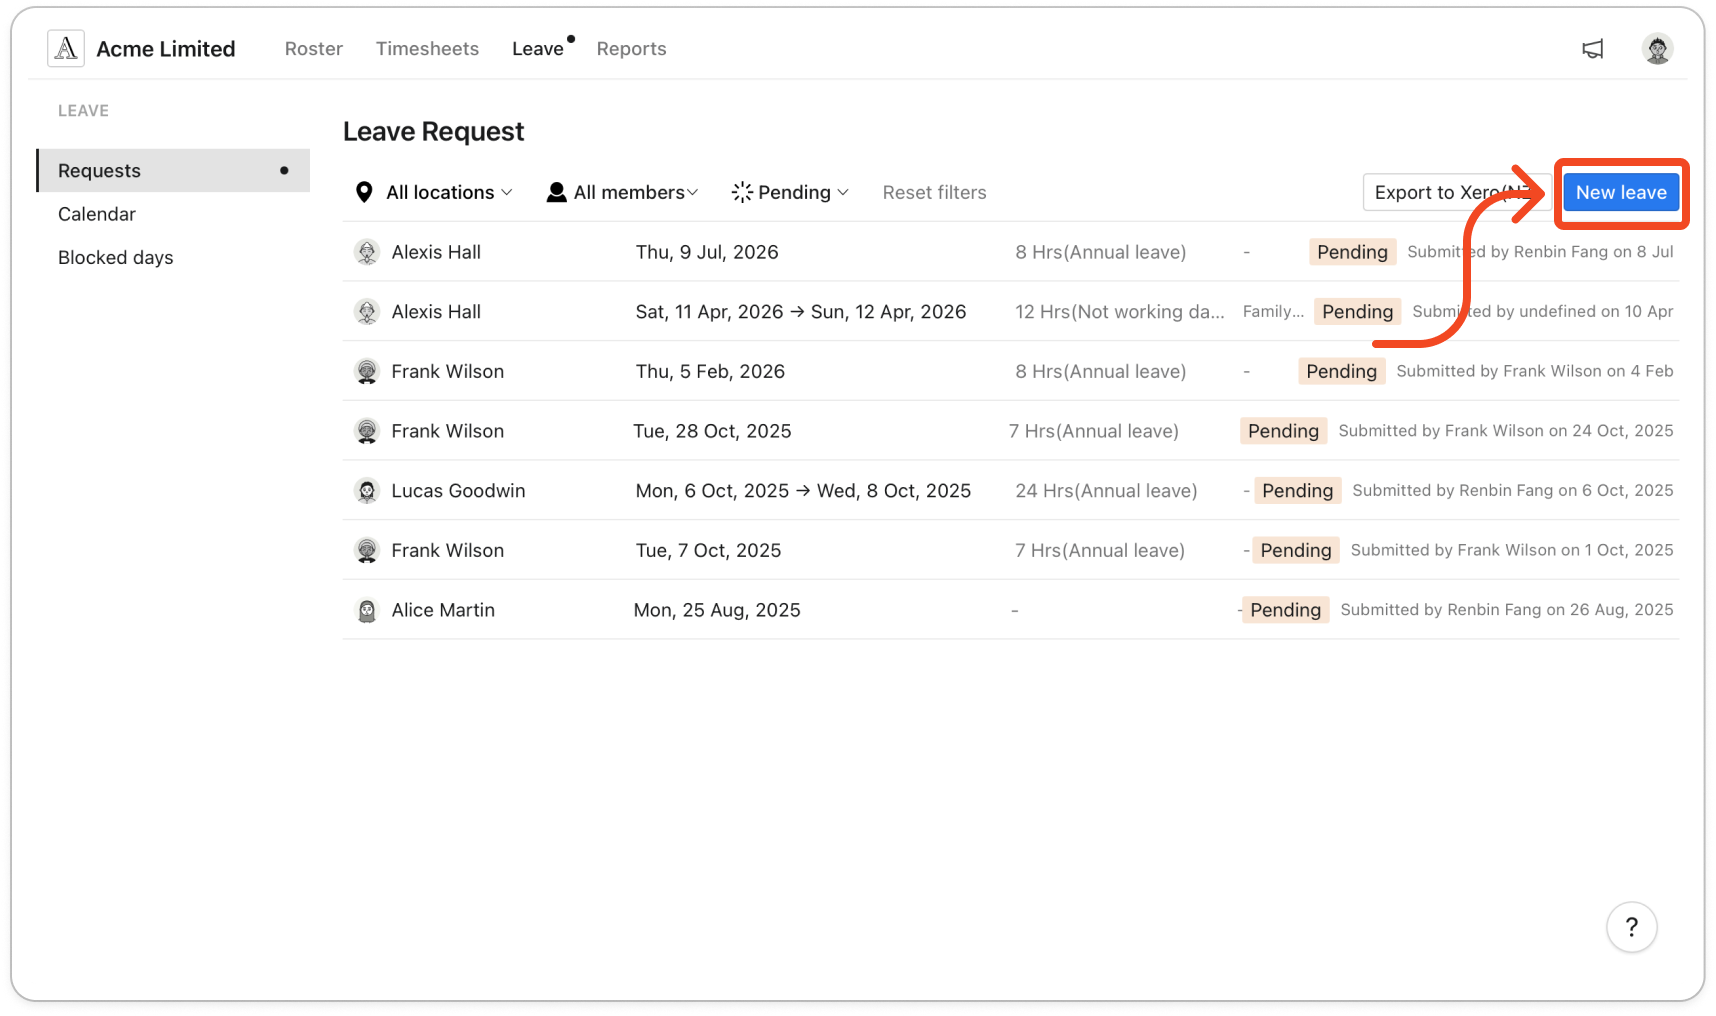
- Click Leave at the top of the page. The Requests list opens.
- Click New leave at the top right. The Leave Request window opens.
Tip: New leave is also on the Calendar page, and opens the same window.
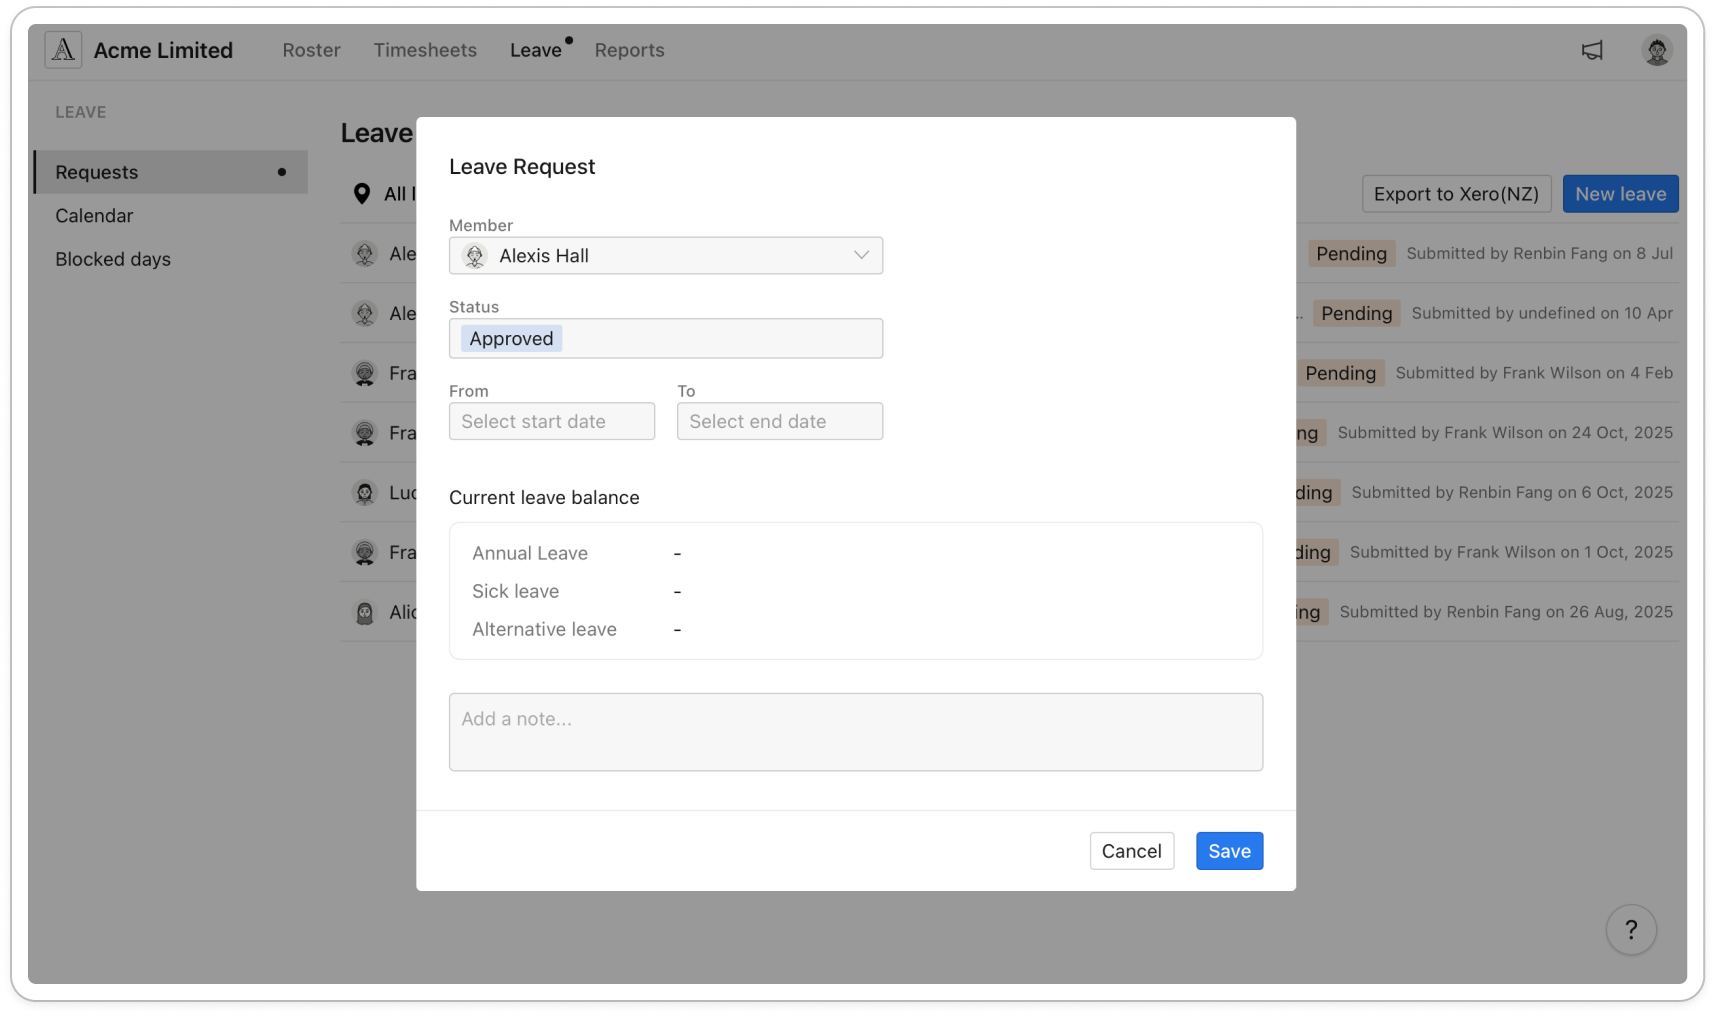
- Under Member, pick the member you're adding leave for.
- Check the Status. It is set to Approved by default. Change it to Pending if the leave still needs to be approved.
- Pick a From date and a To date. One row appears for each day in that range, and every row starts as Not working days.
Note: A single leave entry covers up to 90 days. For longer leave, add a second entry.
- Click the leave type on a row to change it. The list shows Not working days first, then the types under Paid leaves and Unpaid leaves.
Tip: To set several days at once, tick the box at the top of the day list, or click the arrow beside it and choose All, Weekdays or Weekends. Then click Assign leave type and pick the type.
- For a paid or unpaid leave type, the row shows an Hrs field with All day turned on. Check the hours and change them if the member's day is a different length. To record part of a day instead, turn off All day and enter the start and finish times, and Timble works out the hours.
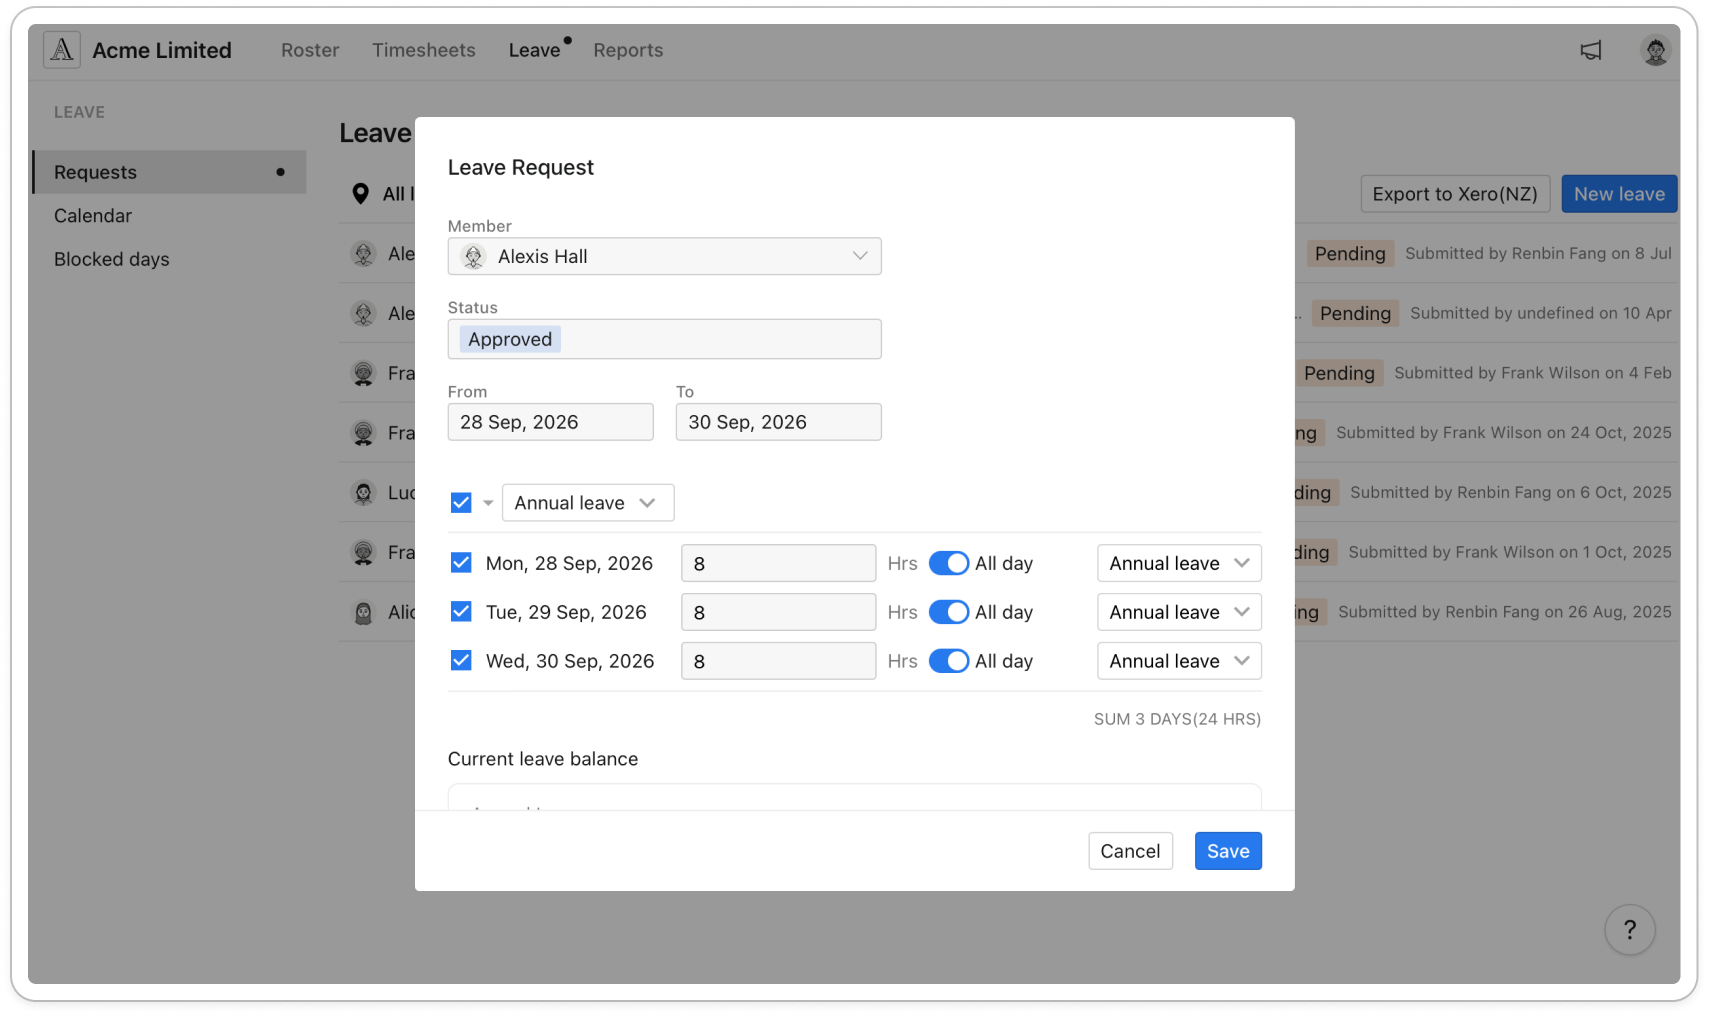
- If your business imports leave balances from payroll, the member's Current leave balance shows below the day list, so you can check it before you save.
- Add a note if you want to, then click Save. The leave now appears on the Requests list, and on the member's row on the roster.
Important: A member can't have two leave entries that overlap. If Timble says the member already has leave in the selected dates, find the existing entry and edit it instead.
Edit or delete leave
- On the Requests page, click the leave entry you want to change. The list shows Pending requests by default. To find approved leave, change the status filter to Approved or All status.
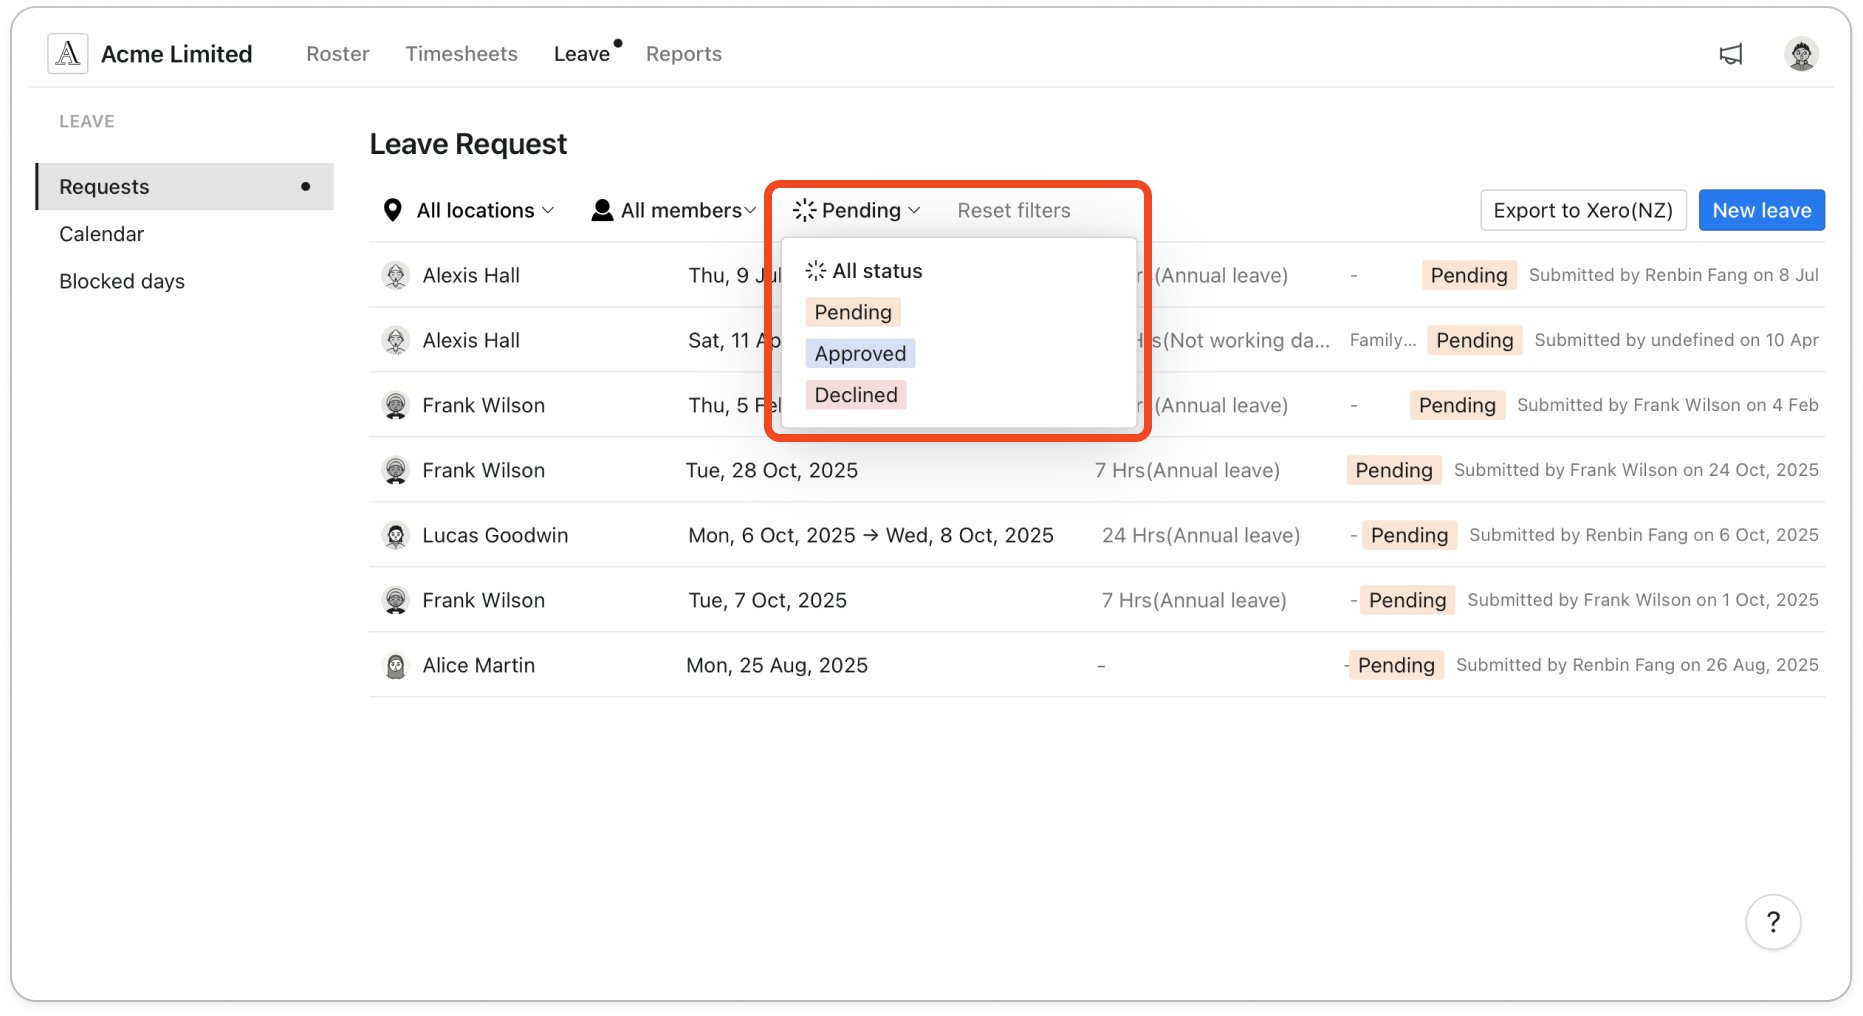
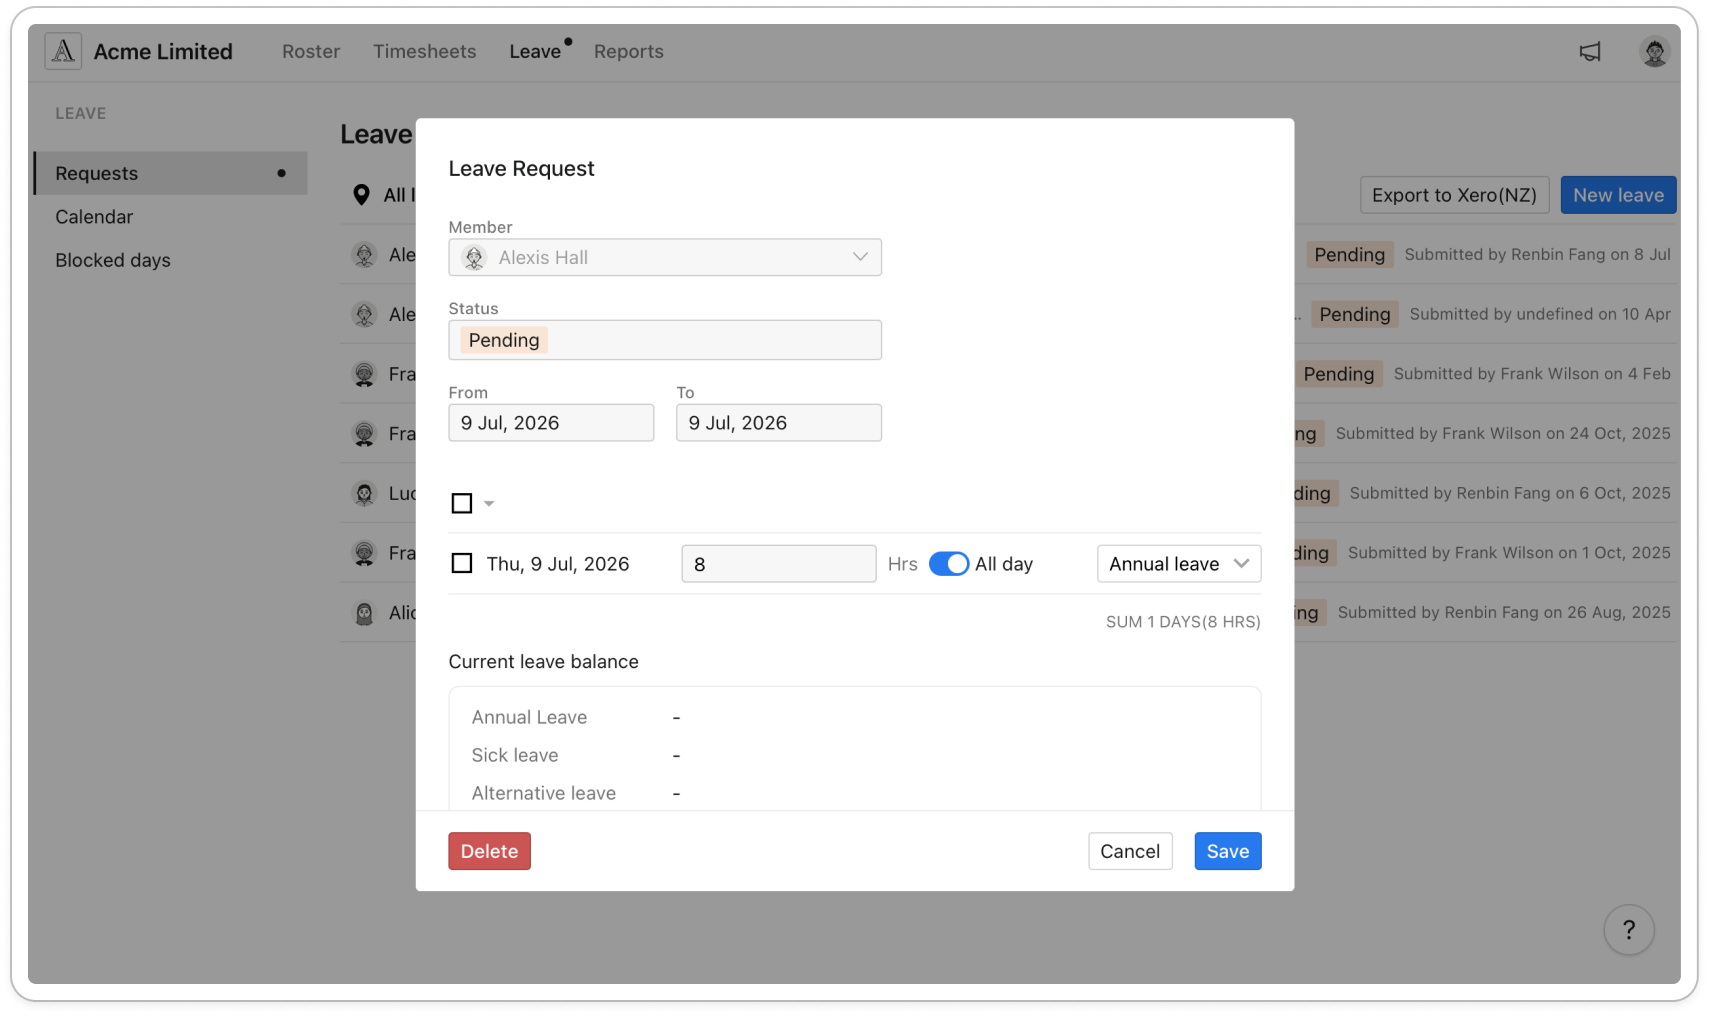
- The Leave Request window opens with the entry's details. Change the dates, days, types, hours or note as you need, and set the Status to Pending, Approved or Declined.
- Click Save. Timble emails the member to let them know their leave was updated.
- To remove the leave instead, click Delete at the bottom left of the window. Timble emails the member and sends a notification to their phone to let them know the leave was deleted.